How to Clean Aquarium Filter Sponge Without Harming Bacteria

Rinse the sponge in removed tank water when flow drops about 30–50% or debris is packed through the pores; keep it wet and replace it only if it stays clogged after cleaning. Clean it badly, and you can strip away enough beneficial bacteria to trigger ammonia or nitrite spikes. This article shows how to judge sponge dirt, clean it in the right order, and protect bacterial colonies in sponge filters and other sponge media.
What you’ll need
- Clean aquarium water from a water-change bucket
- A clean bucket with no soap or cleaners
- Gloves or towels for grip, if wanted
- A brush for impeller, inlet, and outlet parts
- A spare container for holding wet media during the reset
How dirty is too dirty?
A sponge needs cleaning when debris starts changing function, not just appearance. Light mulm and a brown film are normal. Slow flow, weak bubbling, dark sludge, or compressed pores usually mean the sponge is clogging and oxygenated water may no longer move through it well enough for the bacteria on the surface.
That matters because the sponge does two jobs at once. It traps waste and gives nitrifying bacteria surface area. Those bacteria live on the media surface as biofilm and need oxygenated flow. For that reason, rinse it, do not sterilize it.
Use this dirt-threshold check
- Light mulm: rinse only the outer layer and stop early.
- Slow flow: clean the sponge and inspect the impeller path.
- Dark sludge: clean in stages, not all at once.
- Visible clogging: clean now, because the pores are blocking flow.
Say your sponge filter in a 10-gallon tank still bubbles, but the stream looks thinner and the sponge feels heavier than usual. That is a cleaning signal. Suppose the same sponge is coated with only a light brown dusting and flow is steady; in that case, a brief squeeze in tank water is enough.
Sponge cleaning steps
Turn off the filter, keep the media wet, and clean the biological surface before any hard parts. A clean water-change bucket matters here because it lets you remove waste without exposing bacteria to tap-water disinfectants. WikiHow recommends siphoning about 25% of tank water into a clean bucket for rinsing filter media.
- Unplug the filter and stop flow.
- Pour removed aquarium water into a clean bucket.
- Squeeze the sponge in that aquarium water until debris releases.
- Brush the impeller, inlets, outlets, and housing separately.
- Reassemble the filter and restart it.
Use a gentle squeeze-and-release motion rather than scrubbing hard. AAP describes cleaning sponge filters this way, and it keeps the biofilm attached to the sponge surface. If the water in the bucket turns muddy fast, move the sponge to a second portion of clean removed tank water and finish there.
Which sponge gets cleaned first?
Clean the dirtiest pre-filter or the section with the worst flow loss first. Leave the cleaner section alone if the filter has more than one sponge or stage. That keeps part of the bacterial colony in place while you remove the worst debris from the section doing the most mechanical work.
Filter sponge decision table
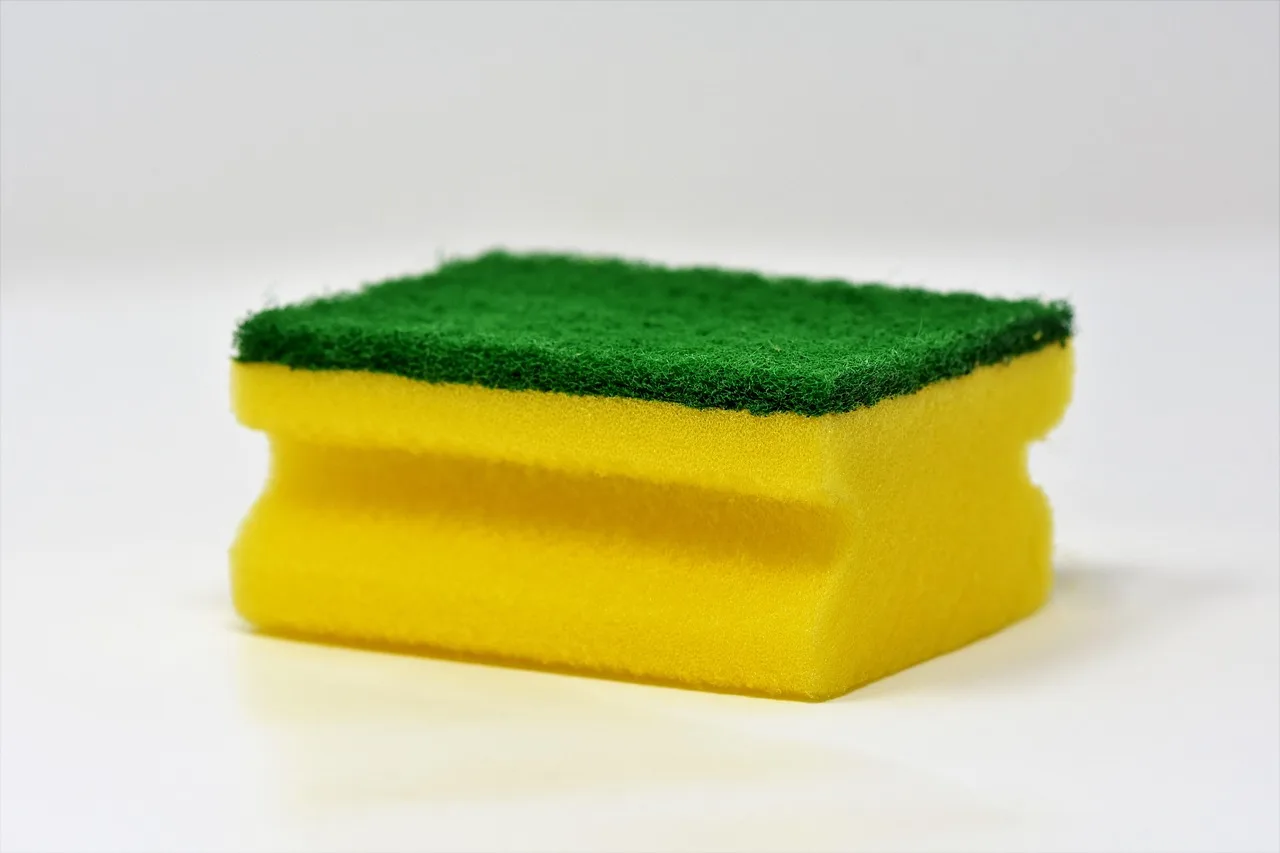
| Sponge condition | Action to take | Biofilter risk |
|---|---|---|
| Light mulm, normal brown film | Give one gentle squeeze in tank water, then stop | Low if you keep the sponge wet |
| Slow flow, reduced bubbling | Clean the sponge, then brush the impeller and inlet | Moderate if you overwork the media |
| Dark sludge, compressed pores | Clean one section now and leave the rest for later | Higher if you clean every stage together |
| Accidental tap-water rinse | Return the sponge to tank water immediately and monitor closely | High, because disinfectants can damage biofilm |
| Multi-sponge filter | Clean only one sponge or one filter per session | Lower when sections are rotated |
For multi-stage filter media such as sponge pads, ceramic rings, filter floss, and bio-balls, clean one section at a time. WikiHow advises cleaning only one sponge or one filter per session in multi-sponge systems. That rule matters more when the filter is the main biological load on the tank.
ProHobby identifies common nitrifying bacteria in filters as Nitrosomonas and Nitrospira. It also states that even a 30-second tap-water rinse can expose bacteria to disinfectants, and that 70–90% of active nitrifying bacteria can be killed by tap-water disinfectants. Keep the rinse short and keep it in aquarium water.
Did you rinse it in tap water?
If the sponge was accidentally rinsed in tap water, move it back into de-chlorinated aquarium water right away and treat it as a risk period. Tap water is not suitable for normal bio-media rinsing because chlorine and chloramine can damage the bacterial film on the sponge surface.
What to do right away
- Put the sponge back into the filter or a bucket of tank water.
- Restart normal aeration and flow.
- Do not scrub it again.
What changes next is usually gradual, not instant. ProHobby notes that nitrifying bacteria begin dying from oxygen starvation within 2–4 hours when flow stops, so restoring movement matters. If the sponge was already out of the filter for a while, get flow back before doing anything else.
What to watch over 24-72 hours
- Ammonia reading
- Nitrite reading
- Reduced flow or weak bubbling
- Fish gasping, clamped fins, or staying near the surface
- Shrimp or fry gathering near the filter outlet less than usual
WikiHow says to test water several days after cleaning. Use that window here too. If ammonia or nitrite rises, reduce feeding, increase aeration, and test again the next day. A common first-timer mistake is to panic-clean the sponge again before the tank has had time to settle.
Common mistakes
- Cleaning every media piece at once: keep one section dirty so bacteria remain on site.
- Replacing all media together: keep old media when you add new media.
- Scrubbing bio media hard or using soap: squeeze in tank water instead.
- Cleaning the impeller while the bio sponge is still exposed: separate mechanical parts from biological media.
- Cleaning substrate and filter the same day: stagger those jobs so the tank does not lose too much bacterial surface at once.
ProHobby advises not to clean the filter and vacuum substrate on the same day. That guidance fits the same principle as the sponge rotation rule: keep enough active biofilm in place to process waste while the tank recovers from maintenance.
Sponge filters are common in small tanks and breeding tanks, and they are safe for fry and shrimp. The same source says they can even be the only source of aquarium filtration for decades, and that only fluidized sand bed filters outperform quality sponge filters for aerobic bio filtration. That works best when cleaning stays gentle.
How often should you clean it?
The same source says cleaning every 3 weeks to 1 month is adequate for sponge filters, but the real schedule depends on clogging, stocking, and sponge type. Coarse sponge usually holds flow longer than fine sponge. A pre-filter sponge may need attention sooner than the main sponge because it catches larger debris first.
If the filter still moves water well and the sponge only has a light film, wait. If the pores are closing or the output is dropping, clean sooner. The goal is to preserve flow without stripping the colony.
How to seed new media with old media
If you are replacing a sponge or adding a new section, keep the old media in the system long enough to seed the new one. WikiHow says to keep old media to seed brand new filters for 4-6 weeks. That lets bacteria colonize the new surface before the old media is removed. (Wikihow)
Simple seeding order
- Place new sponge media beside the old media.
- Run both together in the same filter path.
- Leave the old media in place while the new media colonizes.
- Remove the old piece only after the new one is carrying flow well.
Picture a breeder tank with a main sponge and a small pre-filter sponge. Clean the pre-filter first, leave the main sponge alone, then swap roles at the next maintenance session. That rotation keeps one part of the biofilter active while the other part is rinsed.
Frequently asked questions
How do you clean aquarium filter sponge without killing beneficial bacteria?
Turn off the filter, squeeze the sponge in removed aquarium water, and stop once the visible waste comes out. Do not scrub it hard or rinse it in tap water. That keeps the biofilm on the sponge surface intact while removing the debris that is blocking flow.
Can I rinse filter sponge in tap water?
No for normal maintenance. Tap-water chlorine or chloramine can damage nitrifying bacteria on the media surface. If tap water was used by mistake, return the sponge to tank water immediately, restore flow, and watch ammonia and nitrite for the next 24-72 hours.
How often should I clean my aquarium sponge filter?
The same source says every 3 weeks to 1 month is usually adequate, but the better trigger is flow. Clean when output drops about 30–50%, when the sponge feels packed with debris, or when bubbling weakens. Coarse sponge usually lasts longer between cleanings than fine sponge.
Should I clean all sponge media at once?
No. Clean only one sponge or one section per session in multi-sponge systems. That keeps part of the bacterial colony in place and lowers the chance of a mini-cycle. If the filter has several stages, rotate which section you clean each time.
How do I seed a new sponge filter with old media?
Run the old and new media together for 4-6 weeks so bacteria can colonize the new surface. Put the new sponge where it gets real flow, keep the old one in place, and remove the old media only after the new one is carrying flow without clogging.
How do I know if my sponge filter needs cleaning?
Check three signs: flow drop, compressed pores, and dark sludge. Light brown film alone is fine. If bubbling slows, water movement weakens, or the sponge no longer rebounds after squeezing, it is time to clean in tank water and check the impeller path too.